

RHEUMATOID ARTHRITIS & THE JAK-STAT PATHWAY
MScBMC @ UofT
A short animation made for Peter Leynes' 2D medical animation class in the Masters of Biomedical Communications program at the University of Toronto. This was a collaborative project between myself, Athena Li, and Raymond Zhang that described the role of the JAK-STAT pathway in rheumatoid arthritis. We also took this opportunity to make this project our homage to the Saturday-morning cartoons that we used to watch as kids.
TARGET AUDIENCE
General Audience
TOOLS USED
Adobe After Effects
Adobe Premiere Pro
Opentoonz
Adobe Photoshop
Adobe Illustrator
Audacity
Ableton


Figure 1:
The initial rough layout of the piece

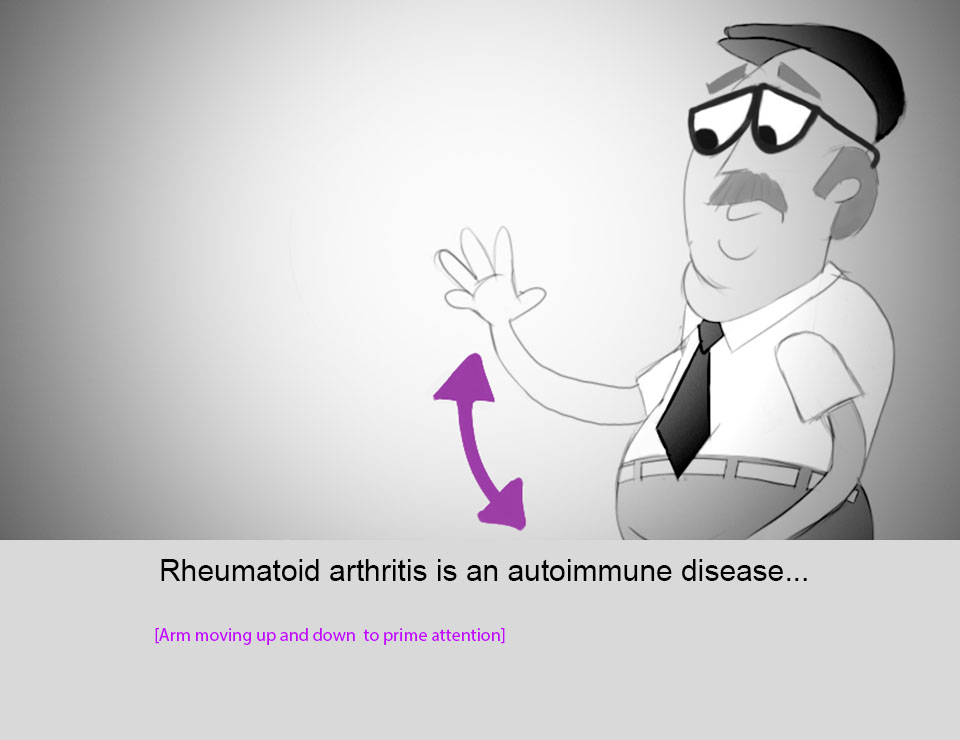


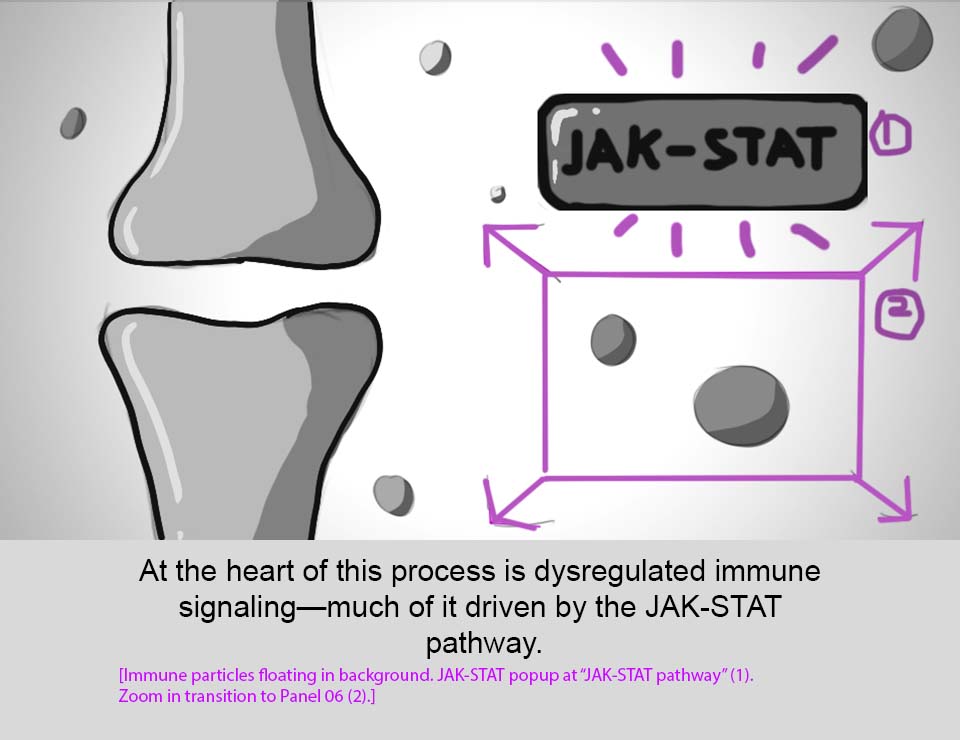
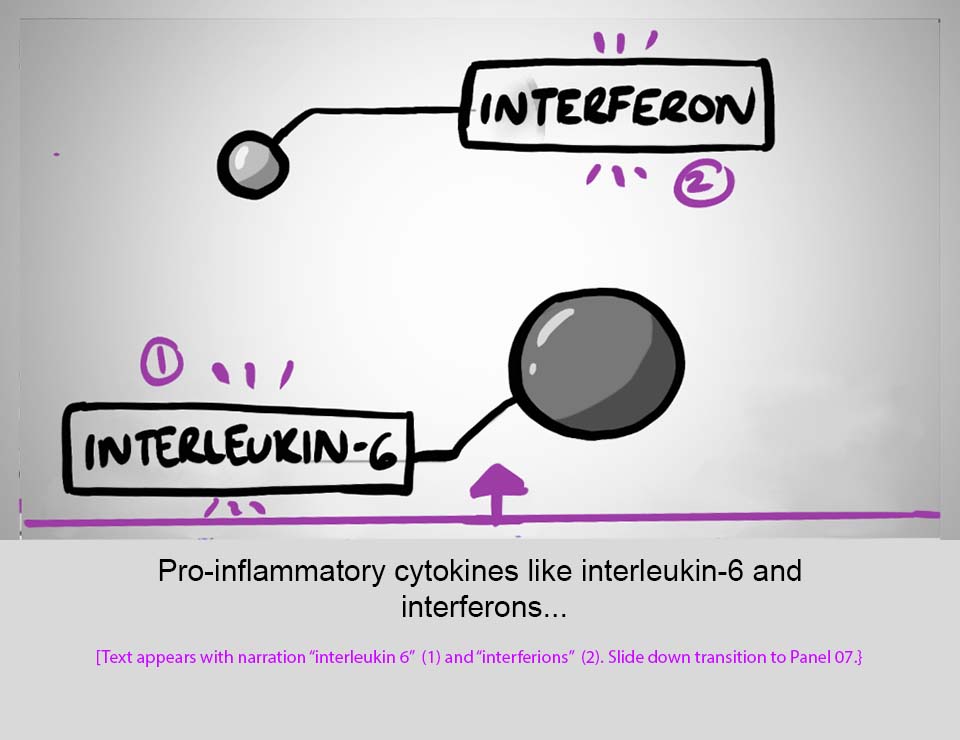


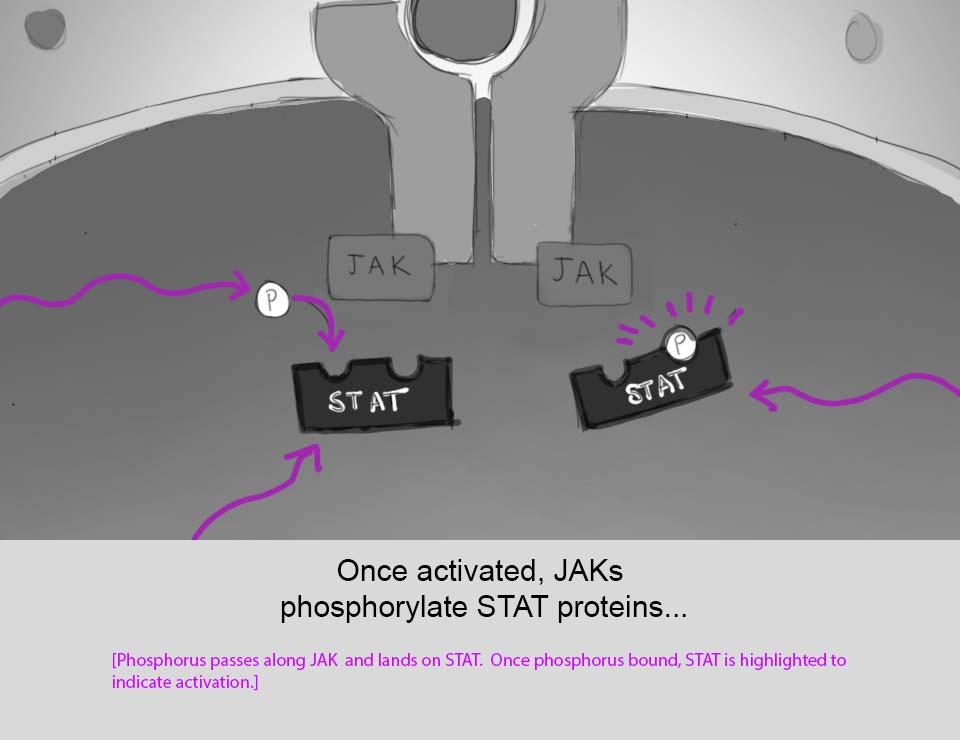


Figure 2:
The refined storyboard
Figure 3:
The animatic
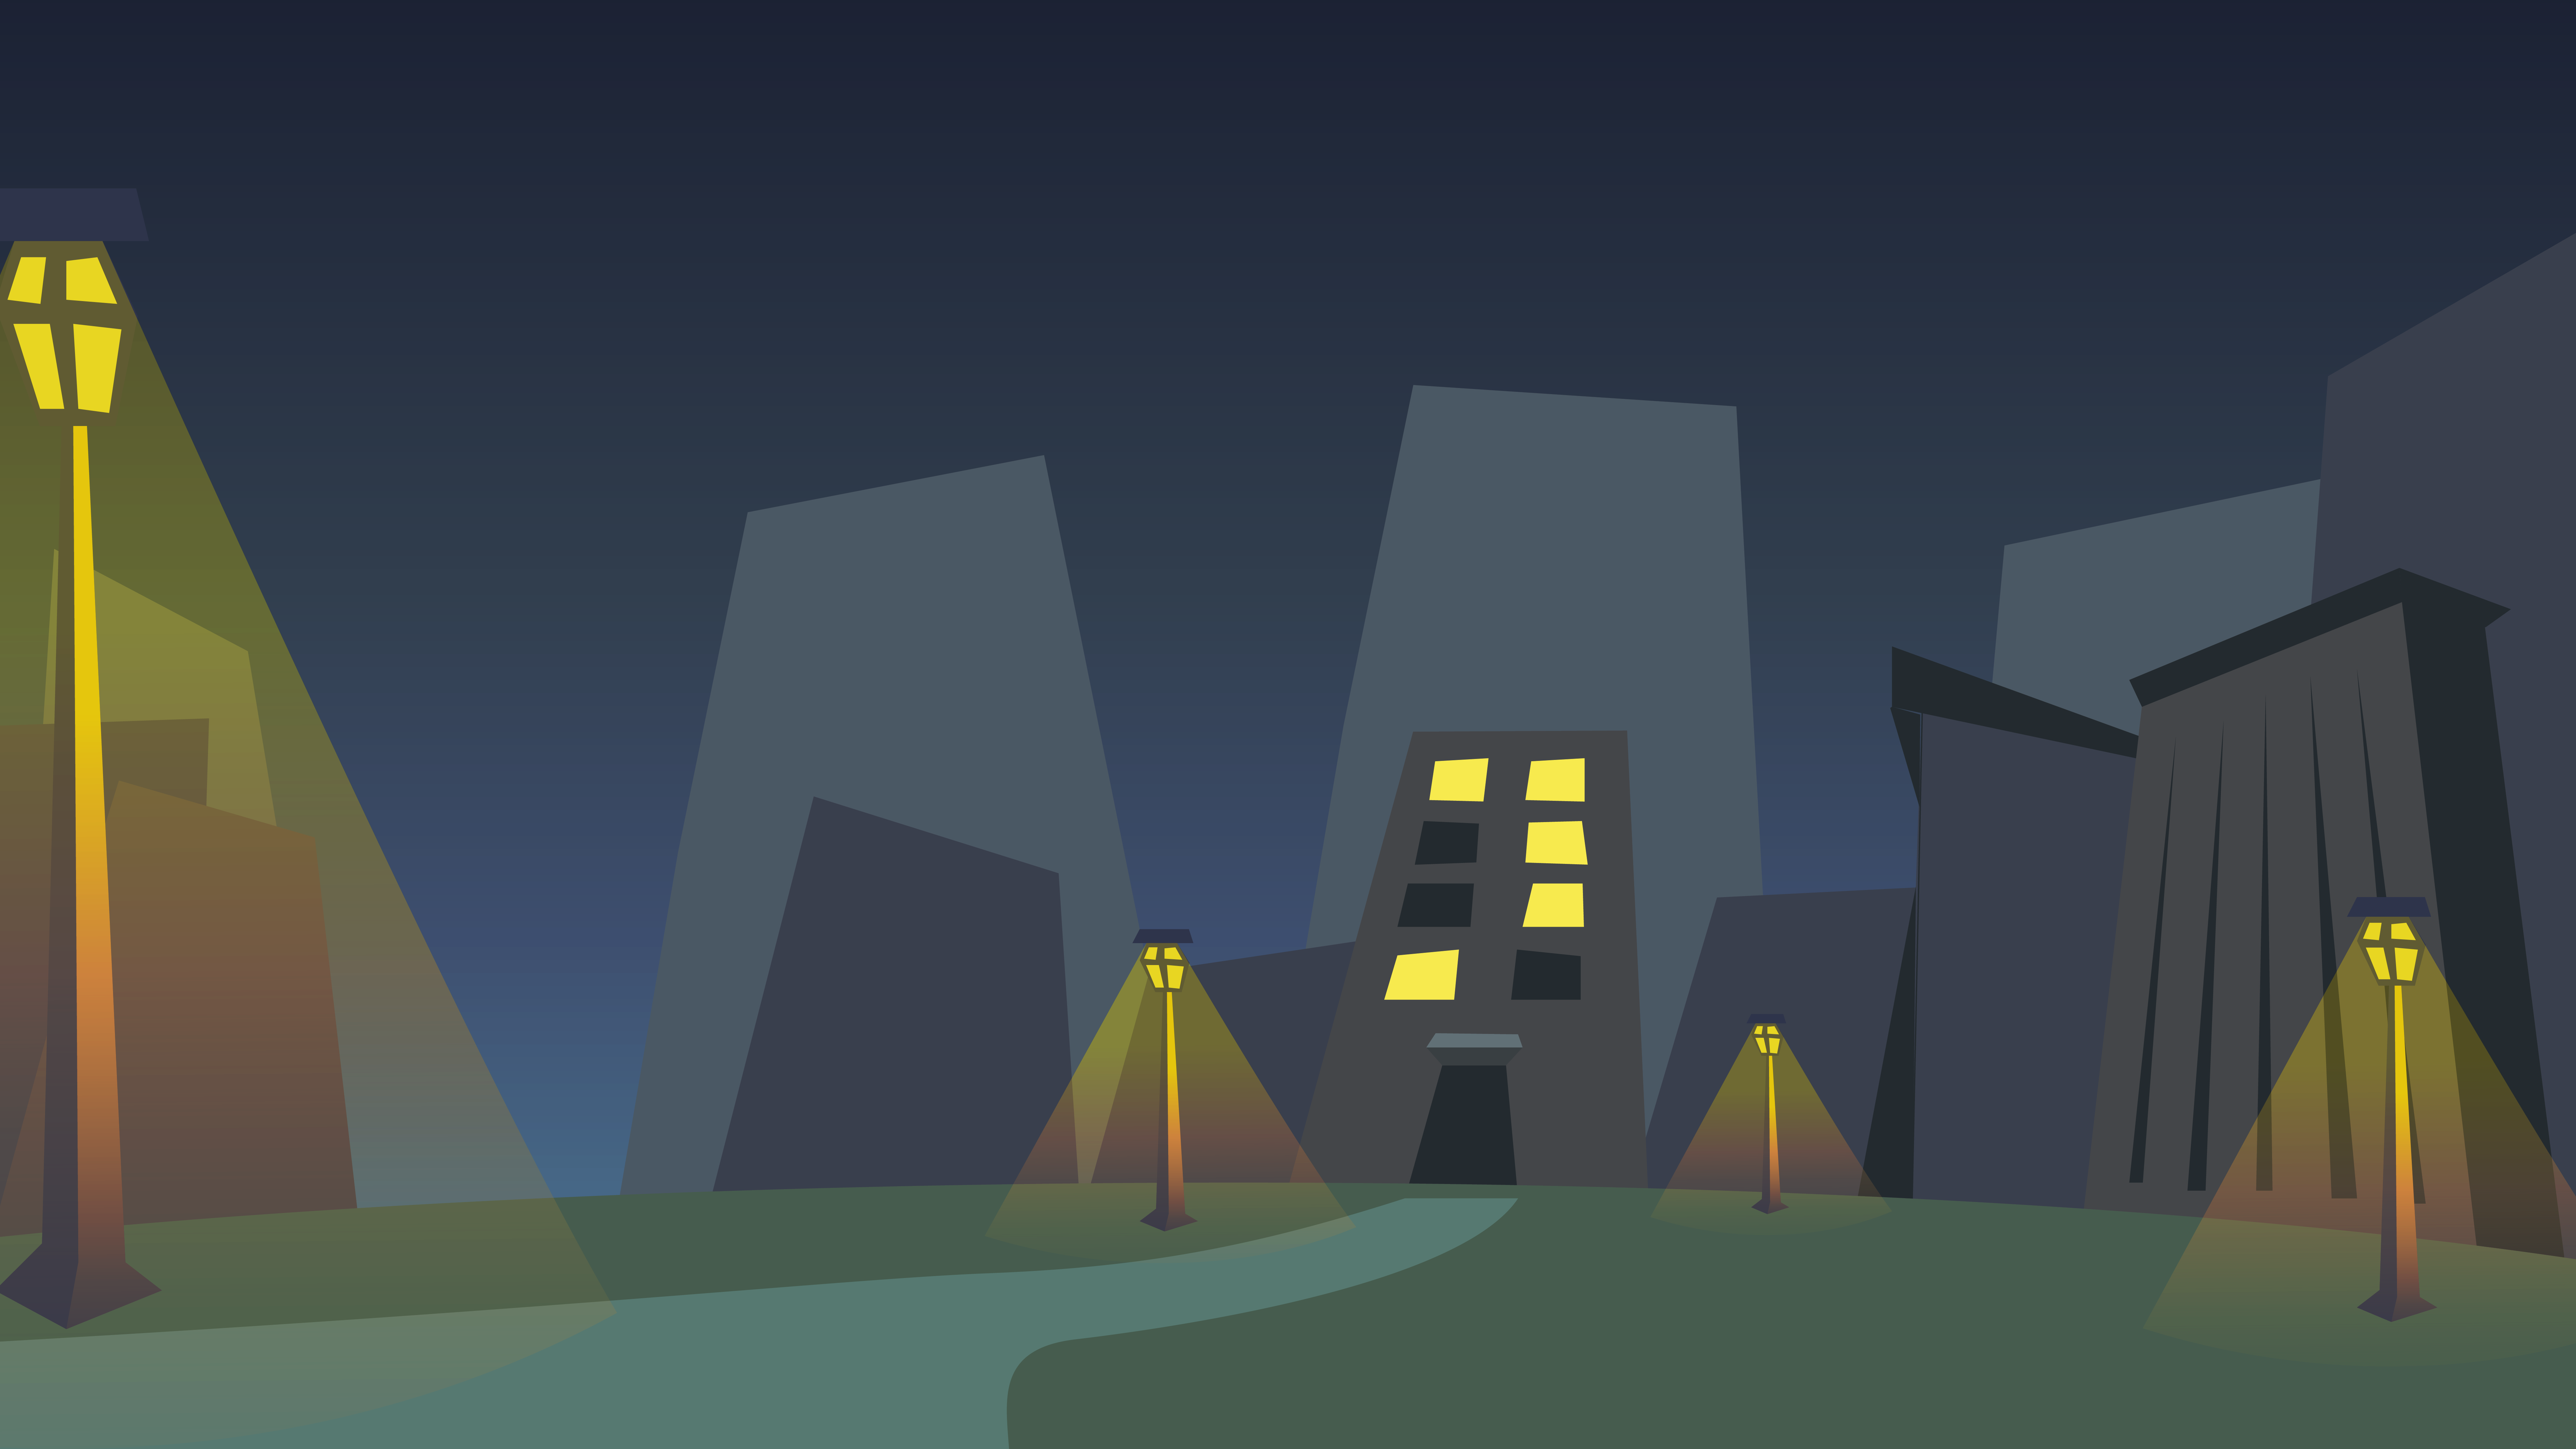
Figure 4a:
Custom Background for the "Old Man" Night scene

Figure 4b:
Custom Background for the "Old Man" Day scene
Figure 5:
Rough frame-by-frame animation for the rotating arrows
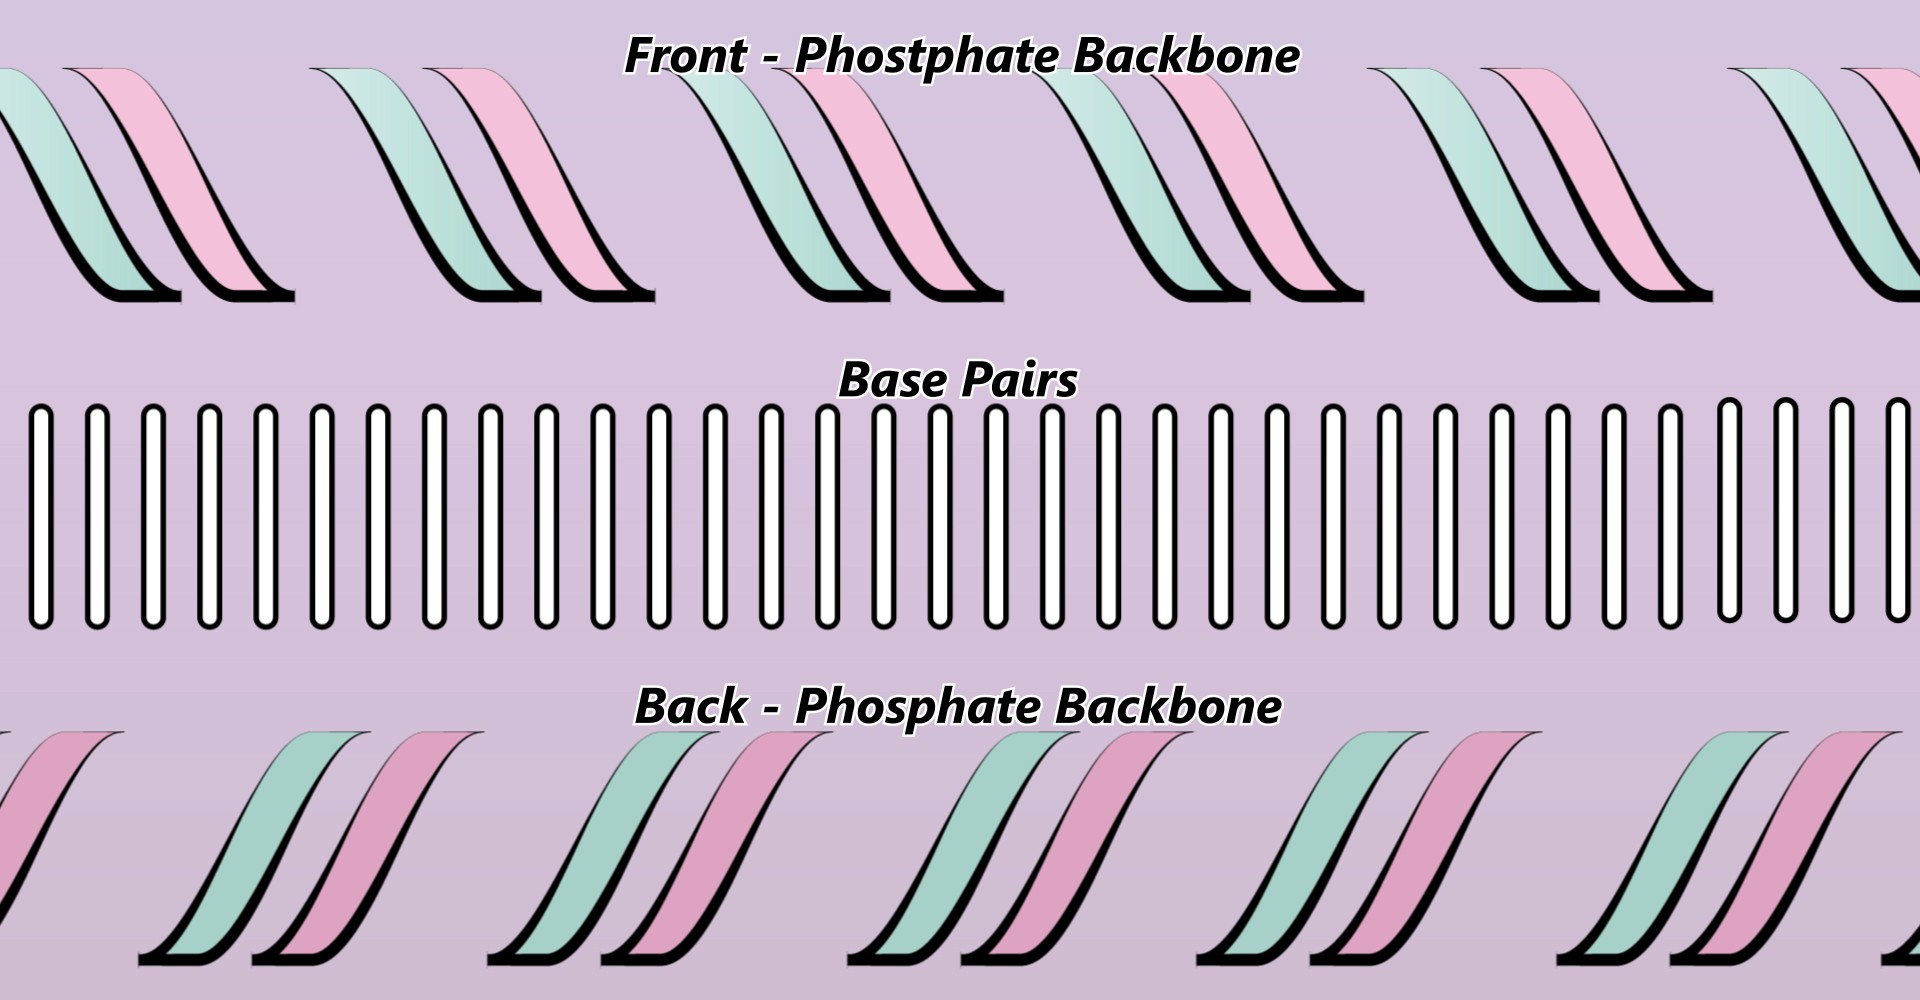
Figure 6a:
Exploded view of DNA Helix components
Figure 6b:
DNA Helix animation
7) FINAL ANIMATION & SOUND DESIGN
With all of the components completed, we were able to put together the animation in After Effects, adding camera shake and other effects to finalize the piece. But what are cartoons without sounds?
I imported the final animation into Ableton and went frame-by-frame to search for places where sound effects could be added. I then scoured the internet for CC0 sounds (most notabliy Freesound.org).
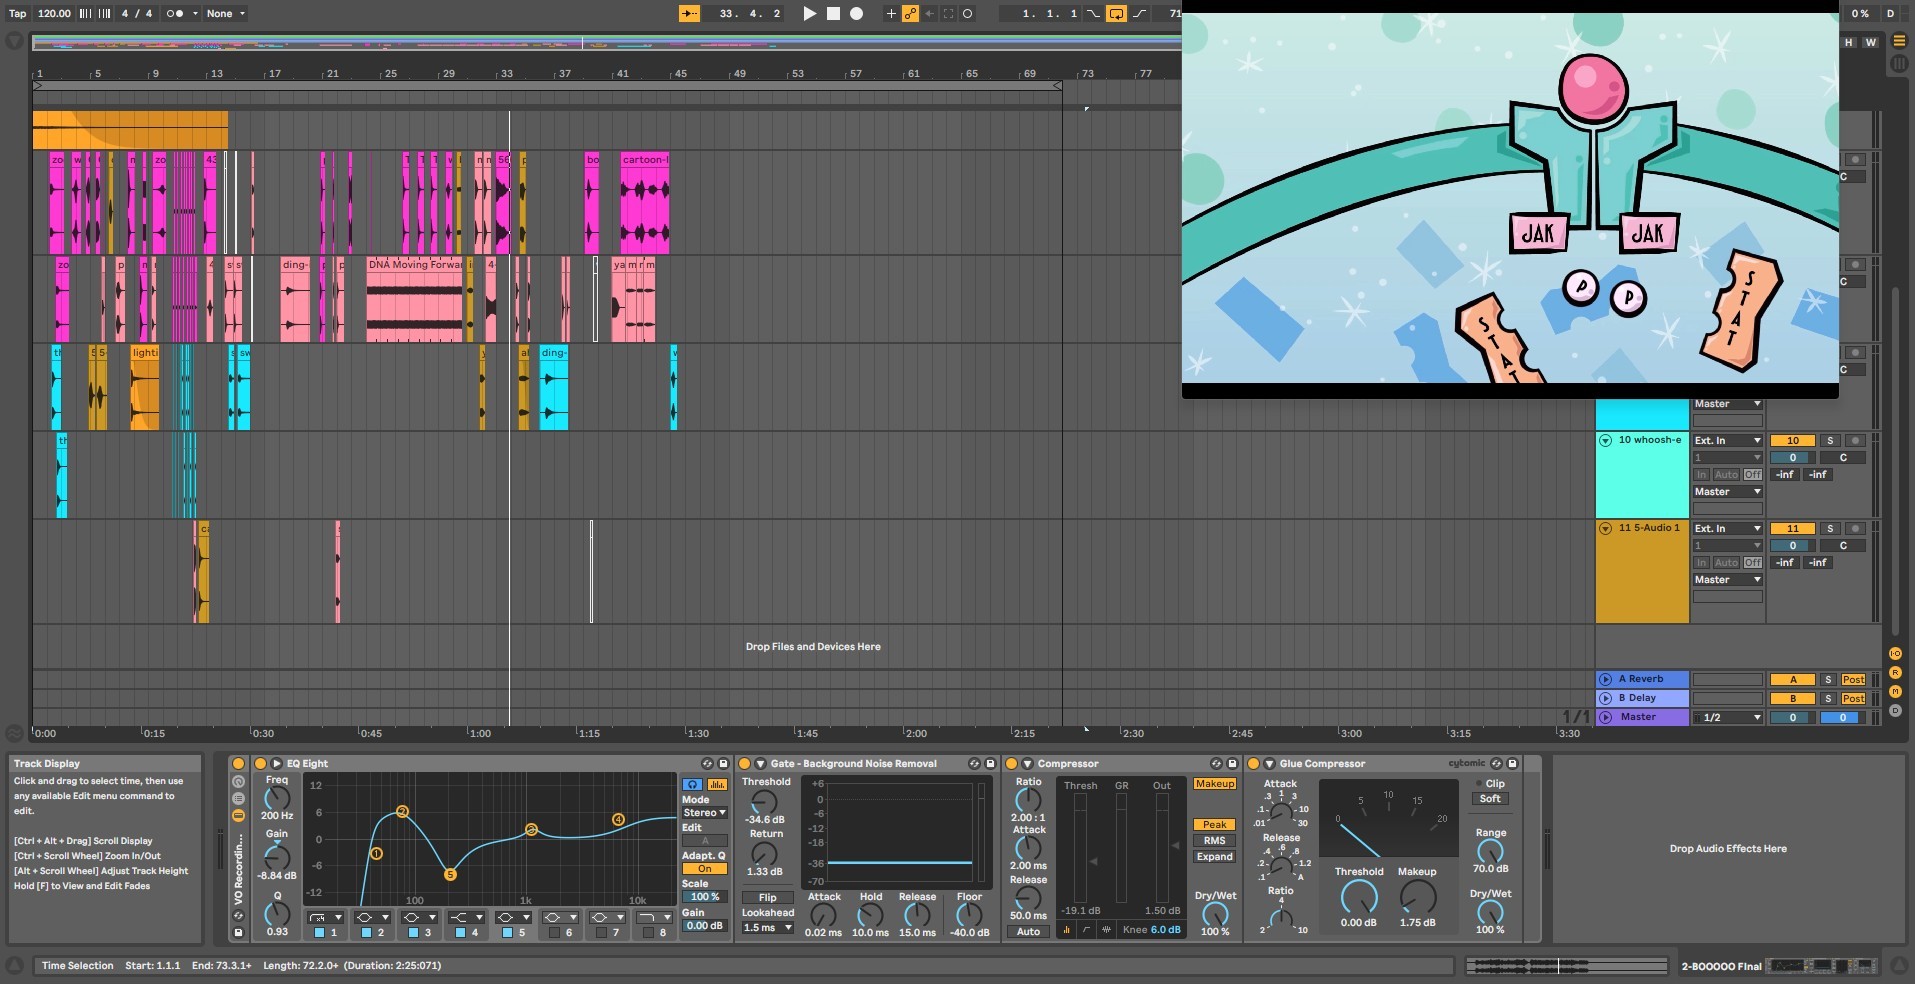
Figure 7:
Sound Design in Ableton
All in all, we were very pleased with the final animation. We had set out to create an educational animation about Rheumatoid Arthritis and the JAK-STAT pathway, but we wanted to put our own spin on it. When we settled on the idea of creating an homage to the cartoons we love, all of our design choices fell in place - from the style and design to the music and audio choices. Click here to see the final animation.
Navigation
Contact