

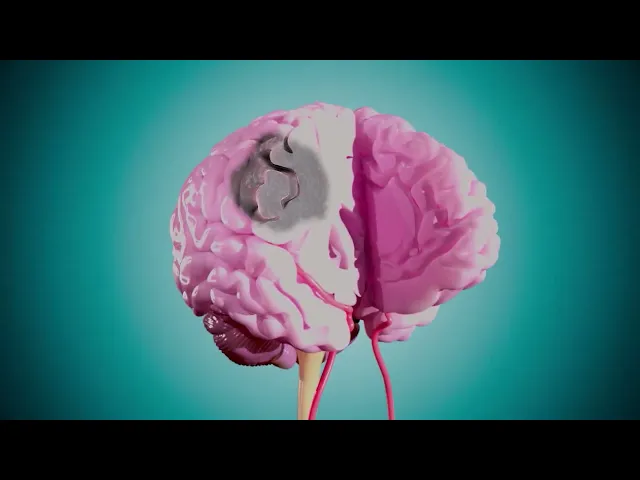
MASTER'S RESEARCH PROJECT - BRIDGING THE DISTANCE
MScBMC @ UofT
TARGET AUDIENCE
General Audience
TOOLS USED
Maya
Adobe After Effects
Adobe Illustrator
Adobe Photoshop
Adobe Premiere
Adobe Audition
Ableton
I first met with the team at RADIS lab in early 2025. They have been researching and working towards creating a system that utilizes remote robotic technology to provide access to surgical care for people in rural areas of Ontario that are not within reach of a stroke centre. Their work is ground-breaking and I truly believe that they will change the way stroke care is delivered across the world, so I was very lucky to get the opportunity to work on an animation for them.
The goal of the animation is to promote the research and the idea that a neurosurgeon can send instructions to a surgical device across the province and conduct a stroke surgery on a patient hundreds of kilometres away. In addition, the animation will also be used as promotion of RADIS lab's research at various presentations and galas for the purpose of garnering funding from financial donors so that this research can continue. These two objectives meant that the animation I would be creating would not only need to be educational, but would also need to connect and engage with potential financial donors in the hopes of convincing them to support the project.
RESEARCH
From my own experience in consuming educational media, I've found that skirting the line between education and engagement can be a very difficult thing to accomplish. Either the piece becomes boring if it gets lost in the weeds and focuses too much on teaching all of the details, or the piece is very engaging but doesn't have enough of a focus on the specifics of how processes work. That's why before starting any of the planning, I wanted to do some research to see what the literature had to say about finding a balance between educational and engaging pieces of media.
Storytelling can play a crucial role in philanthropy by using compelling narrative that is capable of grabbing an audience's emotions. Effective storytelling techniques have been shown to have a significant positive effect on donation performance in crowdfunding campaigns (Robiady et al., 2021). Narrative transportation (when the audience become fully immersed in a story) along with personal resonance (when a story aligns deeply with the audience's core values) both contribute to altruistic behaviours in an audience (Kaczorowska et al., 2025). These principles can be co-opted to create an emotional connection with an audience and stimulate donor activity for a cause (Paxton et al., 2020).
On the other hand, some may incorrectly believe that an audience's understanding of a topic may be diminished or distracted by an emotional piece of media, when in fact drawing on an audience's emotions can be a successful strategy to foster reflection and action-oriented learning (Knaus, 2023). Also, the relationship between cognition and emotion have been shown to be interconnected and influence one another (Schmidt, 2019). As such, emotion can be used to support learning while also engaging with an audience.
With this information, my hope was to create an animation that would use character-driven narrative to generate an emotional connection with the audience while at the same time intertwining details and teaching moments related to the inequity of stroke care in rural Ontario as well as the proposed solution of remote robotic technology.
TREATMENT
The first stage in the animation process was to create a treatment. This is a short written overview of what will occur in the animation. I created multiple versions of this treatment after receiving feedback from the committee, but I've included one of the later versions of the treatment HERE.
Looking back, there are parts in the initial treament that are very different from what the final animation turned out to be. This is because many of the ideas spawned during this phase were very experimental and I wanted to push the ideas here as far as I could, even though I knew they probably wouldn't end up in the final animation. Because the treatment is a relatively small investment in the entire process, I didn't feel at a loss if I needed to make any changes at this point, so I wanted to see how far I could go. Also, changes were made to the animation throughout the entire process, and the accumulation of these changes resulted in quite a different final product. While it might seem like the treatment didn't serve much of a purpose, I felt that it was the phase of development that helped me define the tone and cinematic ideas that would eventually lead to the final animation.
VISUAL ABSTRACT
After settling on a treatment, the next step was to set a visual tone. I did this by recreating the final shot of the treatment, to get a better sense of how I wanted the tone of the animation to be.

I knew early on that I liked the idea of having a more realistic tone to the visual style. I felt that having realism would create a more immersive experience for the audience, and would result in a better emotional connection.
SCRIPT
Next, I created the script from which the narration would be based on. You can read an early version of the script HERE. While writing this, I wanted the narration to convey a sense of urgency when it was called for, but also a sense of hope when discussing the possibilities of the new technology. I also needed to be cognisant of the type of language that was used - too complicated and I risked alienating portions of the audience, but too simple and the piece may lose credibility. One example was when we were discussing specific terms related to strokes, like the penumbra. We felt that this term might be too complicated to use for a lay-audience, so we instead made the conscious decision to use the term "tissue at-risk". We felt that this was a good compromise between complexity and engagement.
STORYBOARD
The storyboard was the point in the development where I put everything together: the script, the visual abstract, and all the ideas and themes I'd accumulated up until that point. I divided up the script into what I thought could be different shots and illustrated each of them with their accompanying narration.


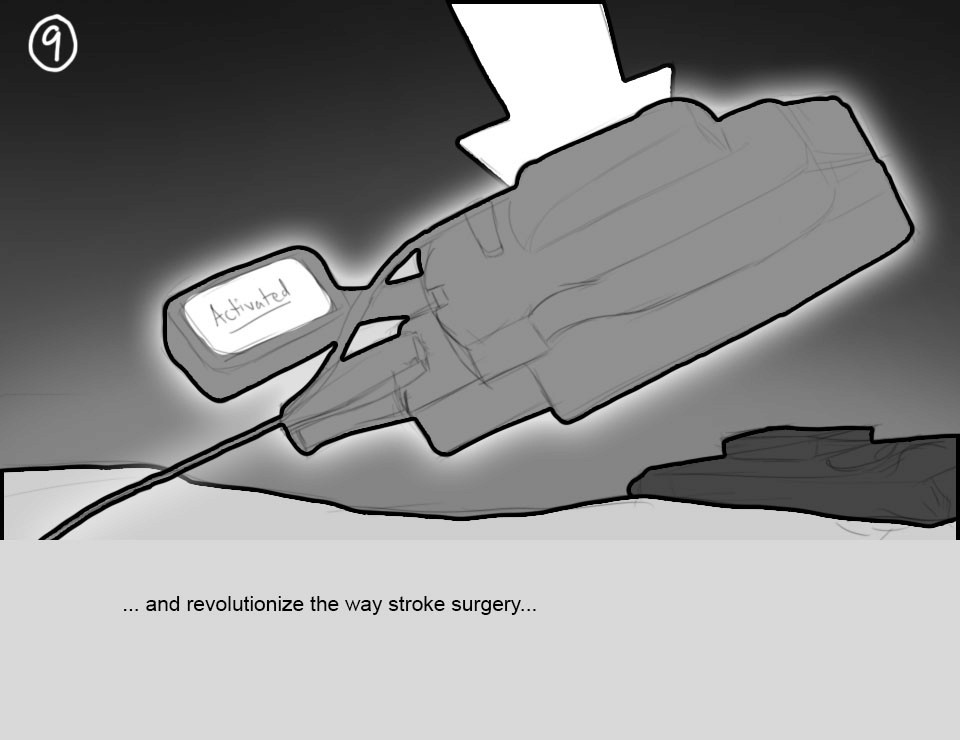
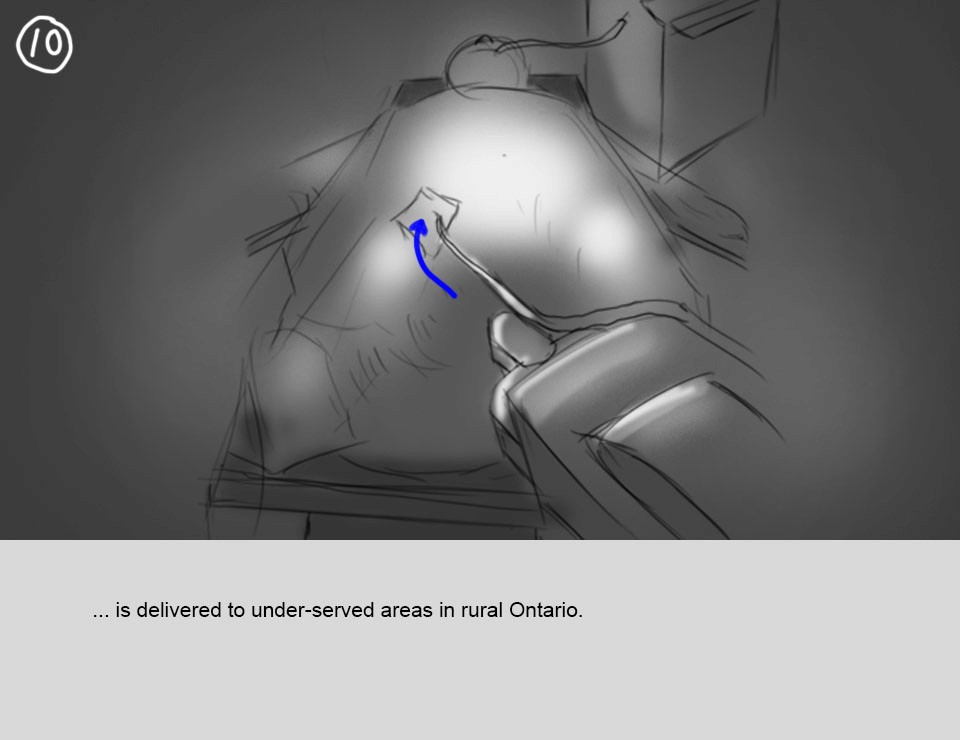


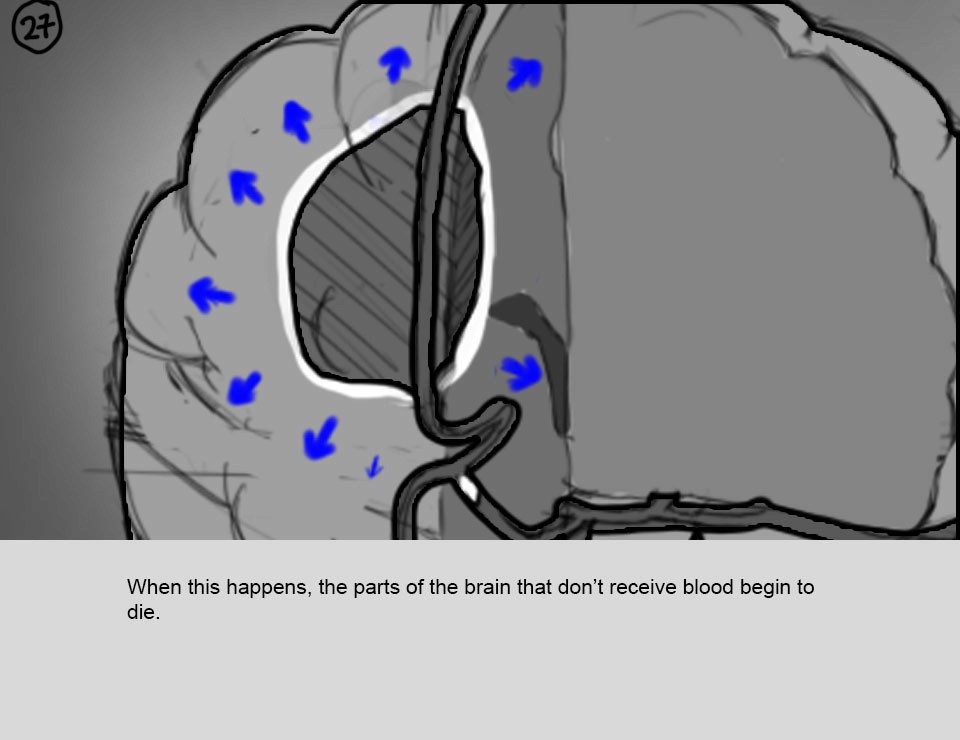


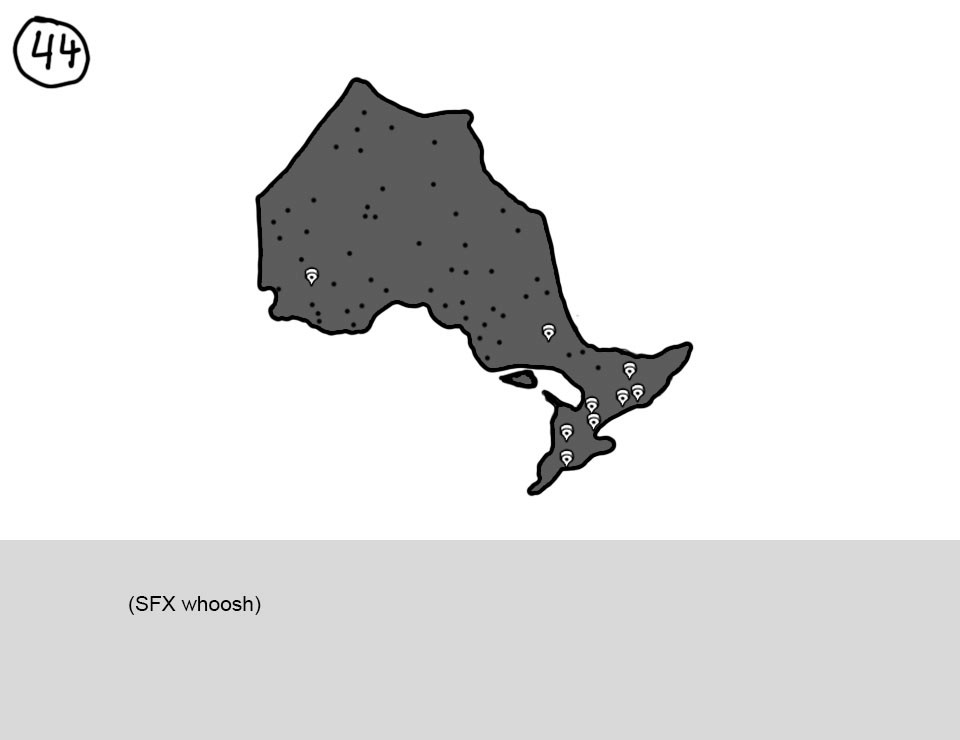


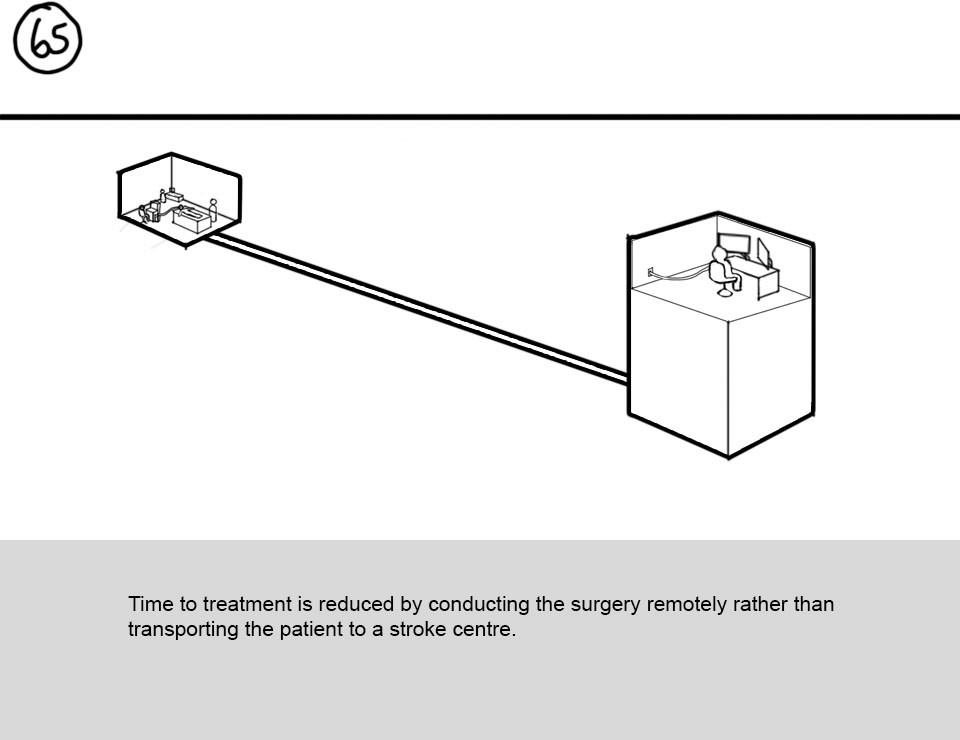

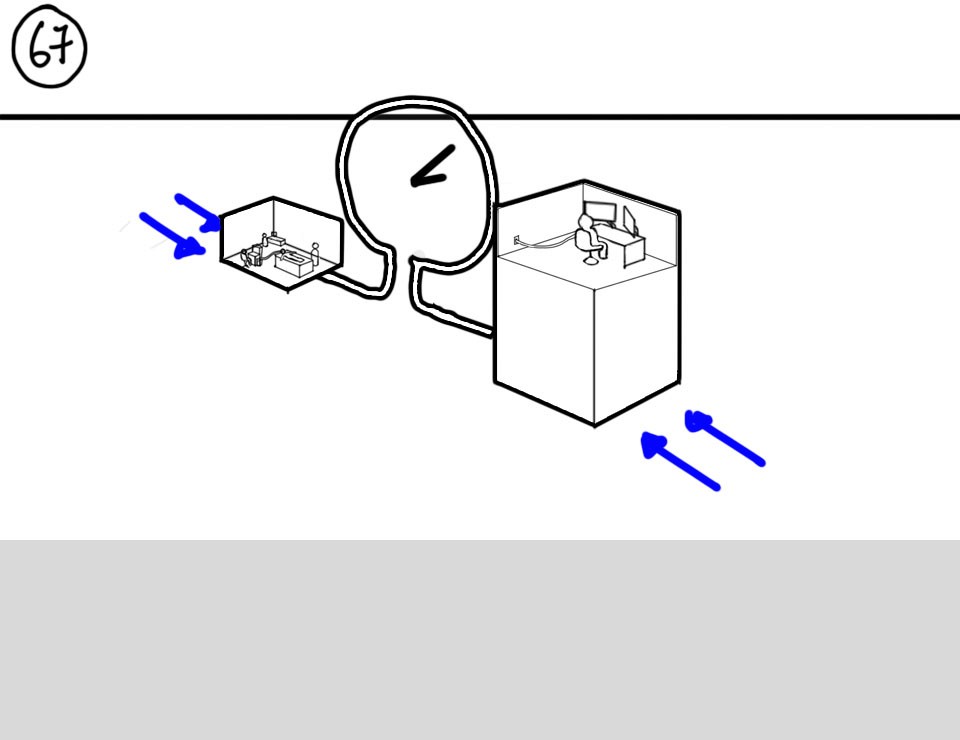


Determining what parts of the script should be designated their own shots vs combined together into group shots was part of the challenge. If I were too literal with the script, I ended up with way too many shots (which would be a nightmare in the production phase simply based on workload), but if I had fewer shots, there might be a misalignment between the narration and the animation, which could lead to confusion.
ANIMATIC
Taking the storyboard and creating a simple animatic was important in determining the timing of each shot in relation to the narration. I found that there were some shots that didn't have enough time to breathe and flashed by too quickly while others lingered on the screen for far too long. In either of these cases, I needed to make adjustments, whether that involves making changes to the script for timing purposes or coming up with better visual transitions between shots.
PRODUCTION
With enough of the pre-production work done, I was able to move onto actual production for the final animation. Because of the significant time constraints and deadlines working against me, I soon realized that I couldn't simply produce everything on my own, especially if I was aiming for a realistic style. I would need to figure out some way to create assets in a very short amount of time so that I could work on other parts of the animation as well.
Here are some of the work-around options that I used to help me complete this project on time:
Metahuman - I used a realistic character generator called Metahuman that works with Unreal Engine, and then imported the resulting character into Maya to be animated. It allowed me to create a customized character that was fully textured and fully rigged. This alone saved me an incredible amount of time while also providing very realistic results. However, there were limitations: Metahuman doesn't allow the export of hair or clothing, so these were assets that I needed to create myself.

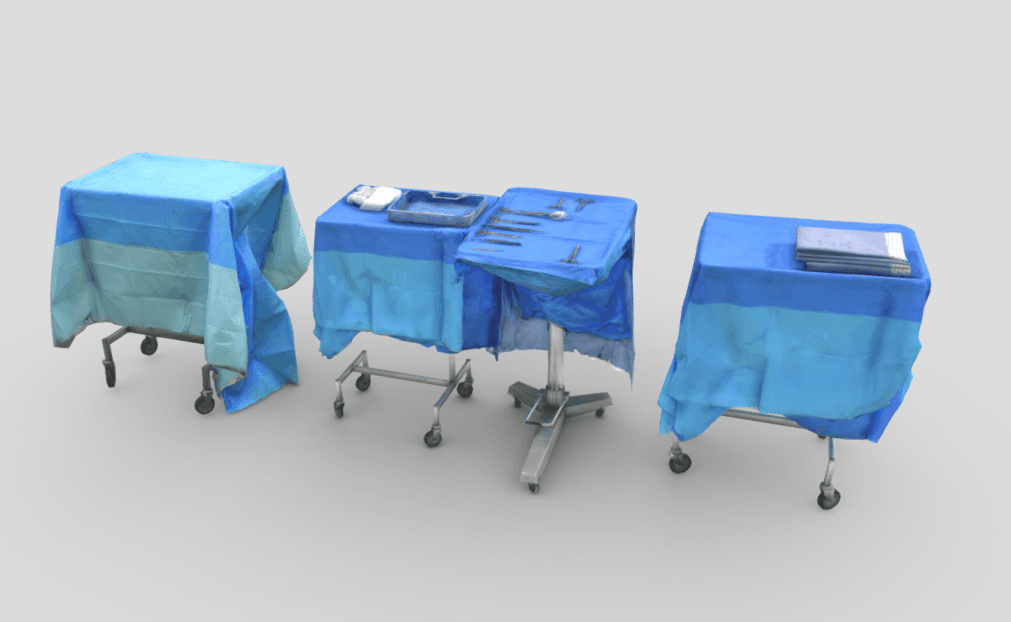
Downloadable assets - I used repositories like Sketchfab to find assets that I could use, most of which were already textured and/or rigged. Some of these assets were meshes created from photogrammetry (using multiple photos to recreate a 3D object), which provided an extra layer of realism that would have taken me ages to achieve if I had modelled it myself. I did need to be aware of attribution requirements for these assets, which I made sure to include in the credits of the final animation.
Google Earth Studio - There were two shots in the storyboard that illustrated cityscapes. I initially tried recreating these in Maya, but again, with limited time constraints, I opted to rely on the realistic satellite imagery from Google Earth. Google provides access to an editing suite called Google Earth Studio in which I was able to animate specific camera moves around the specific locations that I needed. Similar to the downloadable assets, I needed to ensure that I provided attribution to Google, as dictated by their attribution rules. This explains why I included the Google Earth logo in the corner of these shots.

NeuronBuild - One scene in particular relied heavily on visualizing realistic neurons firing. One of the professors in my program, Nicholas Woolridge, created a tool called NeuronBuild that can use neuron morphological data from repositories like NeuroMorpho to recreate accurate and anatomical 3D neurons. This was invaluable when creating multiple versions of neurons with realistically based shapes.

Even with all of these workarounds to try and tackle such a massive project in such a short amount of time, I still needed to model, texture, and animate many different objects and environments within the final animation. For example, I had to build the robotic surgical machine from scratch based on reference images because these devices are so niche that they aren't available to download as 3D models by simply searching on the internet.

ANIMATION PROCESS
Once all of the assets were acquired or built, the next step was to add movement to everything, including the cameras. This process not only involved animating keyframes, but also the preparatory work or rigging objects, setting up curve offsets for a catheter to move along, or creating blendshapes to ensure that certain movements were repeatable. Maya specializes in these capabilities in a very programmatic way - I often felt like I was programming animation in Maya (which has its own pros and cons).

RENDERING & COMPOSITING
This was by far the most brutal part of the process and had me pulling out hair. Because of the high polycount on some of the assets I was using, as well as the choice of using subsurface materials in some scenes for that added sense of realism, render times were quite high. That coupled with the increased number of render layers in a given scene would often, double, triple, or even quadruple the render time. There were some scenes that took days to render, and this set me back quite a bit. With more time, I feel like I could have been able to make adjustments to many scenes after the initial render, but barring time constraints, this was not possible. In the future, I would need to allocate more time for rendering and plan out how to efficiently use render layers for a given scene from beginning, possibly even during the storyboarding phase.


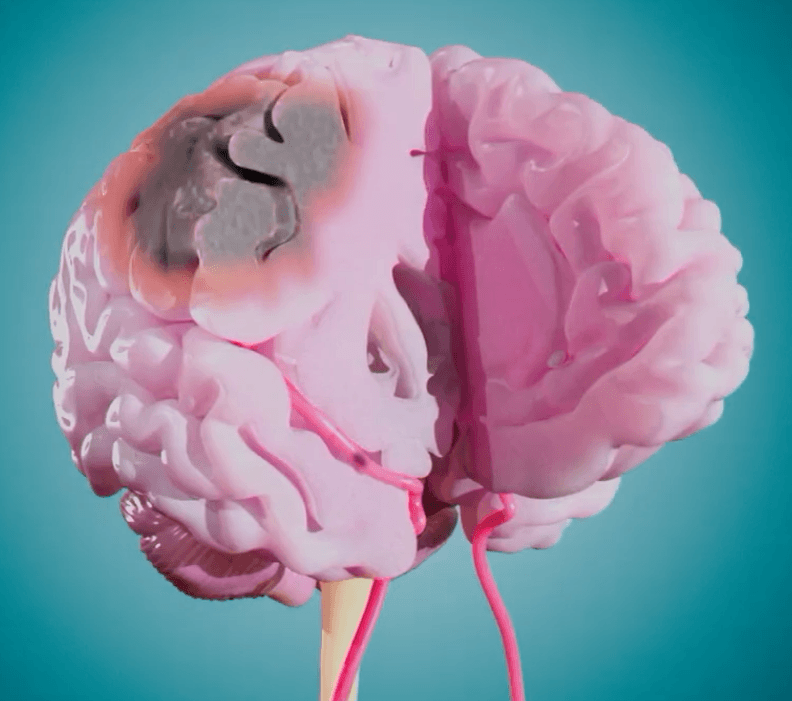
Once all the rendering in Maya was completed, I was able to take them into After Effects and combine all of the render layers together to form the scene. I utilized compositing as a way to show the regions of stroke growing on the brain. To do this, I created one render layer with a normal brain material, and then another render layer with a stroke brain material. Finally, I created an animated render layer that acted as a matte (this essentially means that anything white on this layer will show the stroke material while everything that is black will show the normal brain material). There were many other instances in which compositing was used, such as in the use of popup windows, or simply to make colour adjustments to certain objects within a scene.


SOUND DESIGN
Early on in the development process, I wanted to make sound design an integral part of the animation. I felt that using sound would help create that emotional connection with the audience. For example one of the ideas that Marc and I discussed was the use of a ticking clock to add tension and act as a running theme throughout the animation.
I was able to collect sound effects from various sources online, including Adobe's large repository of sound effects, Pixabay's sound effects library, and Freesound. These sounds were then layered on top of the final render from After Effects. While I could have done this directly in After Effects, I chose to instead export the animation render and add the sound in Ableton, a music production software. This is because I feel that Ableton has more sound capabilities and effects than After Effects, allowing me to warp sounds to different time lengths with minimal sound distortion or even create my own sound effects using adjusted MIDI instruments.
In addition to sound effects, I added music to again try and push the emotional tension in the various scenes. I was able to find Slow Life by Benjamin Lazzurus on Bensound, which I slowed down 50% to cover the entire length of the animation. I was lucky that some of the transitions in the song aligned with transitory moments in the animation. However, it would have been nicer if different themes were incorporated for different scenes in the animation. For example, using a technological/cyber soundtrack for the tron-style Ontario scenes I believe would have been a very interesting choice. If given more time, I would have liked to have tried to create my own music for the animation, allowing for more customization than from a song found online.

SUMMARY
This project was tough to manage in terms of time constraints, but I feel like it was manageable with the various solutions I employed to try and meet the high standard that I had set for this project at the beginning. While I feel like with more time, I could have polished things much more, I am proud to have come out on the other side of this project (mostly) unscathed.
I truly want to thank Dr. Vitor Mendes Pereira and Nicole Cancelliere at RADIS lab for giving me the opportunity to work on such a fundamentally important project with them. I also want to thank Marc Dryer and Michael Corrin the BMC faculty that provided their guidance and support. I don't know how I would have completed this project without their help.
Navigation
Contact